Wednesday, August 27, 2008

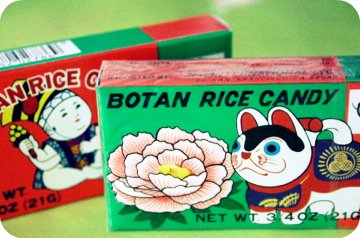
Botan Rice Candy


I found this candy at Vons the other day and I was stoked! I remember it from when I was a kid. It used to be in the Asian section at the grocery store, along with other goodies like rice crackers and Pocky. I loved it because you can eat the inner wrapper, which is made from rice paper. It just melts in your mouth…ahhhh. Well, I still love it!! Botan Rice Candy is back! Super neat and sweet!

Monday, August 25, 2008

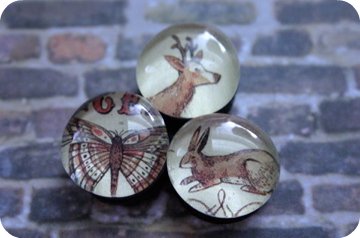
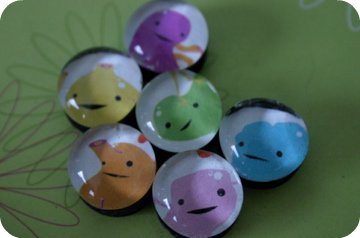
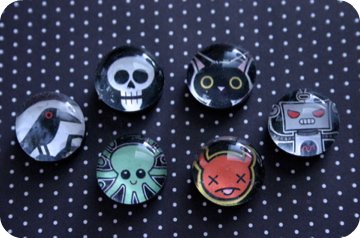
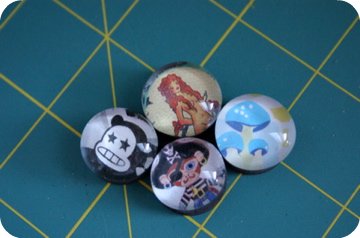
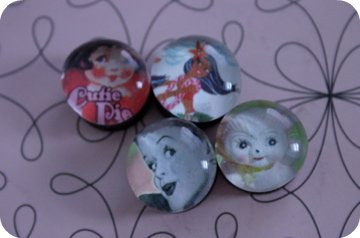
Glass Bubble Magnets


These magnets were supposed to be my craft party project, but I'm not sure when that's going to happen, so I just decided to go ahead and make them by myself. They are so cute and easy! I found so many cute pictures, I just couldn't stop making them... as you can see...


Florentines


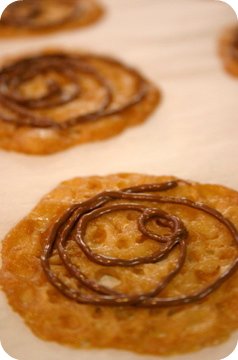
My goody this weekend was Florentine cookies. Geez, they were sooooo easy! My mom has been bugging me to make these for a while. If I knew they were so easy I would have made them a long time ago. I got this recipe from Martha. It's like 2tbsp of four ingredients! The "batter" is about 1/4 cup and you only drop 1/2 teaspoon for each cookie. They are so light and crispy, you could just about eat the whole 2 dozen in one sitting. I got the recipe from Martha Stewart Cookies cookbook, but couldn't find it online to link, so here it is:


Honey Florentines


2 tbsp butter

2 tbsp light brow sugar

1 1/2 tbsp honey

2 tbsp flour


Melt butter, brown sugar, and honey in a small saucepan. Transfer to a small bowl ans whisk with flour. Working quickly, drop 1/2 teaspoonfulls onto parchment lined baking sheets, leaving three inches between each drop. Bake at 375 for 5 to 6 minutes.


I put some milk chocolate chips in a sandwich bag, melted them in a bowl of hot water, cut the a small tip in the corner, and swirled the cookies with chocolate for a little flare.

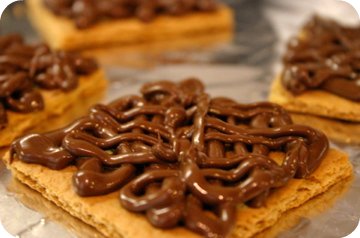
And of course, you have to have something on hand to use with your extra melted chocolate.
Monday, August 18, 2008

Oreo Truffles


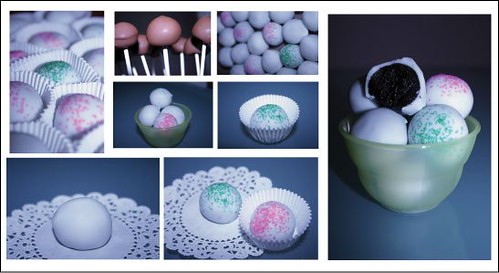
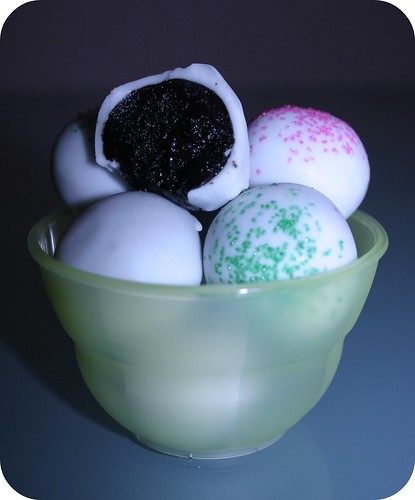
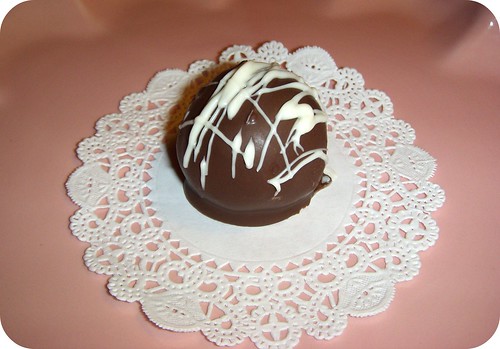
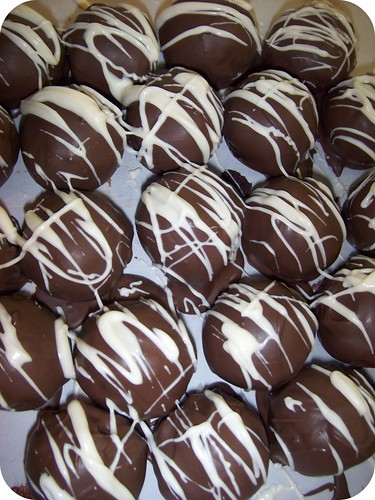
My wonderful mother bought me cuper cute little pink food processor. So, again, I had to make something, right?! I have been eyeing this recipe for Oreo Truffles for a while, so I finally gave it a whirl. My biggest problem - with all of my chocolate covered balls- has been getting the chocolate on the balls and actually have it look nice. At last I have found a solution! I stuck the balls on a lollipop stick, dipped them in the chocolate, let the chocolate drizzle off, stuck them in a block of styrofoam to dry, and then just pulled the stick out. Some I left on the stick just to mix it up. They came out pretty darn cute and yummy too.

Extra chocolate?

Softies

I woke up at 6 a.m. this morning and was bored so I made this "treeling" softie. Softies are little stuffed characters usually made from felt. I started the tea cake a while ago, but got confused on the whipped cream, so stared at it for a couple weeks before I finally improvised and made my own, which is just a rosette, but it works.

Sunday, August 10, 2008

Chocolate-Covered Not-So-Hi Hats


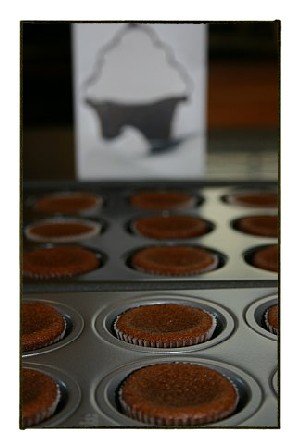
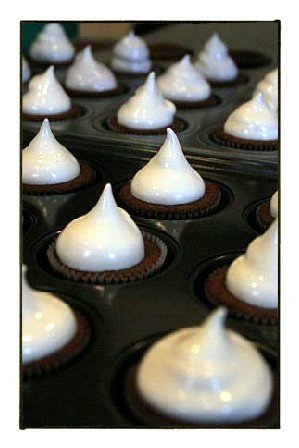
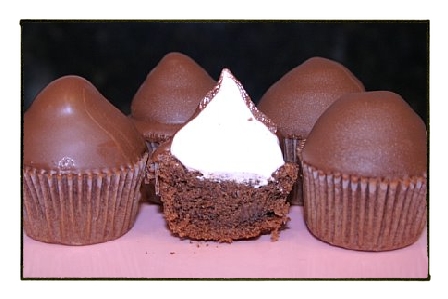
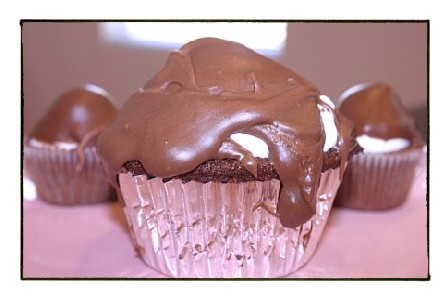
Did I promise to post the cute AND the not-so-cute? Oh, I guess I did... well I guess these would fit under the category of not super cute, but almost cute and still pretty yummy. Monica came over to be a guest baker in my kitchen today for the highly anticipated Chocolate Covered Hi-Hat Cupcake Project. She gets thirsty when she bakes, so she brought Mimosa fixings with her...hey maybe that's why the cupcakes turned out the way they did... hehe. We had a good time, and it was a good learning experience. My double boiler really got put to use for these - three times! 

We started around 10:30 and we didn't finish up until around 2:30 (but mind you, there were the Mimosas.) The cake came out really good and moist. Monica started out shaky, but ended very strong on piping the homemade marshmallow filling. The only part we had real trouble with was dipping the whipped-topped cakes into the chocolate. We even put them in the freezer for a while to see if the filling would stiffen and let the chocolate coating cool longer, but it didn't help a lot. I think this is one of those recipes you really need to work at to perfect. The recipe called for them to be served cold, but cake just out of the fridge tastes dry. I found they tasted better if they sat out for a few minutes before eating. The chocolate gets melty, but that's ok. I took them over to my family's house for the Chargers game (they won!) and they were a hit. Funny how not-so-cute things can taste good too, huh? Who would have thought...


Also, there was some leftover chocolate, so I made some Muddy Buddies.

Friday, August 8, 2008

Devil's Food Cake Balls


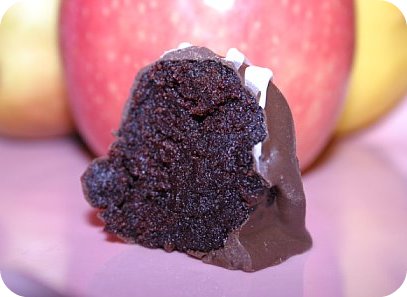
My mom bought me a new super pretty and shiny double boiler. Yay! So, I had to make something, riiiight? In celebration of my cubbie buddy's last day at the office I decided to make her a *treat*. She loves chocolate and requested cake balls! I've done the cupcake pops, but this was my first time doing the balls. Also, this was my first time using almond bark coating. It taste a little different than chocolate, a little more sugary I think. It's ok, but since I've been using milk chocolate chips up until now, I've gotten use to that. I think I will continue to use milk and white chocolate chips. All in all, they are still quite tasty little treats! But what's up with me loosing my cubbie buddies all the time? It's going to be so lonley at work now...


Wednesday, August 6, 2008

Danish-Modern Chairs


Aaron bought one of these vintage danish-modern chairs at an estate sale and the other, a perfect match, on ebay. He did a really nice job refinishing them. They didn't come with cushions, so of course, they were up to me to make. Three days of intense labor (which means sewing and watching Cold Case Files) and one set of cushions is done! Woo hoo! It was an ambitious project for little ol' me. They even have piping!! It took me many tries and my seam ripper was really put to use! When I got frusterated, I would take a breath and walk away. I'm learning to be much more patient, which is GOOD. Well, the cushions aren't perfect, but I made them, so they are better than perfect! Eh...Just don't look too close. One Down! One To Go!

Tuesday, August 5, 2008

When in Doubt, Dip it in Chocolate


{My own version of the "Black and White Cookie"}

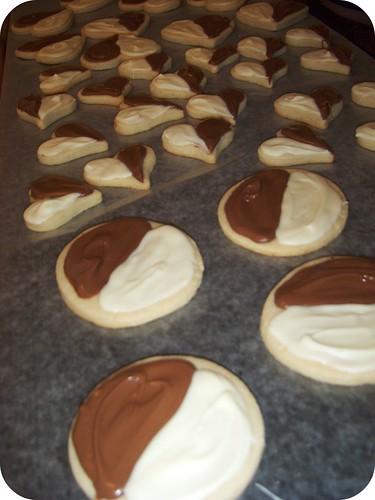
After a week's worth of anticipation for Chocolate Covered Hi Hat Cupcakes, plans fell through and I didn't get to make them (to much disappointment from my family.) Next week they are getting made for sure!  So anyway, on Sunday I was hell bent on baking something, so I sifted through my Martha Stewart Cookies Cookbook and settled on Mini Black-and-White Cookies. Yum, right? WRONG. The dough came out super runny; it was like thick pancake batter. Adding a little more flour, I followed through with baking them, but once they came out of the oven, I knew they were doomed. They were like puffy-fluffy biscuits, which is not good texture for a cookie. So I fell back on an old standby; Martha's recipe for Clover Cookies. Instead of using the sanding sugar as a topping, I was going to follow through with the icing recipe for the black-and-white cookies. Again, doomed! The recipe called for lemon but after tasting it, all I could taste was the lemon. No, no, this just wouldn't work. What else is black and white? Chocolate chips and white chocolate chips you say? OK! So there you have it. My own version of a black-and-white cookie.

They actually turned out really cute and yummy. I've learned sometimes it's good if things don't turn out as planned - you can always make something your own by improvising! As for me, I think my new motto is: When in doubt, dip it in chocolate!


Cookies:
  • 4 cups sifted all-purpose flour, plus more for dusting
  • 1/2 teaspoon salt
  • 1 teaspoon baking powder
  • 1 cup (2 sticks) unsalted butter
  • 2 cups granulated sugar
  • 2 large eggs
  • 2 teaspoons pure vanilla extract
  • Green sanding sugar

Directions

  1. Sift together flour, salt, and baking powder into a large bowl; set aside. Combine butter and granulated sugar in the bowl of an electric mixer fitted with paddle attachment; cream on high speed until fluffy. Beat in eggs
  2. Reduce speed to low. Add flour mixture in two additions, mixing until well combined. Mix in vanilla. Divide dough in half, and cover with plastic wrap; refrigerate 30 minutes.
  3. Preheat oven to 350 degrees. Roll out 1 piece of dough on a lightly floured work surface 1/8 inch thick. With a 3-inch cookie cutter, cut out 25 rounds. Working with 1 round at a time, place clover stencil on top; sprinkle surface with sanding sugar.
  4. Arrange rounds on parchment- or nonstick baking mat-lined baking sheets. Refrigerate until firm, about 15 minutes, or until ready to bake. Repeat process with remaining dough.
  5. Bake, one sheet at a time, until edges just start to brown, 10 to 12 minutes. Let cool completely on sheets on wire racks. Store cookies in an airtight container for up to 5 days.
{Recipe from MarthaStewart.com}

Melt a batch of chocolate and a batch of white chocolate and spread half and half.

My First Blog

In my quest to create all things cute, I decided to start a blog. It is my hope that this will keep me motivated and continue to bake, sew, craft, and create more than ever! And because this is out there for all the world to see, I will endeavor to make my entries inspiring and, of course, as cute as possible. Tools, tricks, tips, and experiences good and bad will be shared along the way.